Sender profiles are a handy tool in Marketing Cloud that allow us to set the name and of the person or organization from whom a message is sent, as well as the name of the the person or organization to whom responses will be directed.
Start at Email Studio in Marketing Cloud and navigate to the Admin tab.

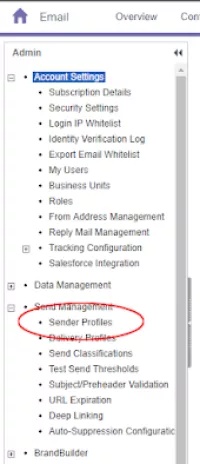
On the Admin page, navigate to the left side of the screen and find Sender Profiles under Send Management. You may need to expand the Send Management option.

On the Sender Profiles page, click the Create button next to the star icon. This will open a form for a new Sender Profile.
The New Sender Profile has many fields, but only the following ones need to be filled:

1. ▶ Name -- This is the label to identify your profile later on. Make sure it is distinctive, as there may be other similar profiles already in the system.
2. ▶Make sure "Use the specific information" is checked.
3. ▶These fields will appear in a subscriber's inbox (example: "From UCSF Alumni, [email protected]")
- From Name -- This is the name that will appear in the "from" field in an email.
- From Email -- This is the email address that the message will appear to be from. Note: It is extremely important that the domain name for any sender profile sent on our behalf in Marketing Cloud is @our.ucsf.edu and not @ucsf.edu. This is to ensure that if any of our emails are marked excessively as spam, we will not damage the UCSF.edu domain's repuation. If this occurs too often, the UCSF.edu domain may be blacklisted by certain internet providers.
- Once these fields are filled out, click the "verify" button.
4. ▶ Make sure "Use custom settings below" is checked
5. ▶ Make sure "Use specified information" is checked
6. ▶ If a subscriber chooses to reply to the message associated with this sender profile, these will auto-fill as the "To" name and email address.
- Reply Name -- This is the name that will automatically fill in the "To" field in a reply email.
- Reply Email -- This is the email address that the reply email will be sent to. Note: Inverse to the "from" email, the reply email address should always use the @ucsf.edu domain, since using @our.ucsf.edu will not actually be sent to anyone.
- Once these fields are filled out, click the "save" option at the top of the page.